

Before I moved overseas and started pushing pixels for a living, I had hand in building quite a few corrals around the United States. I’ve seen some bad fence and some good fence, and I’ve always tried to do a good job with my own fence. Here’s a few tips for building good corral fence.
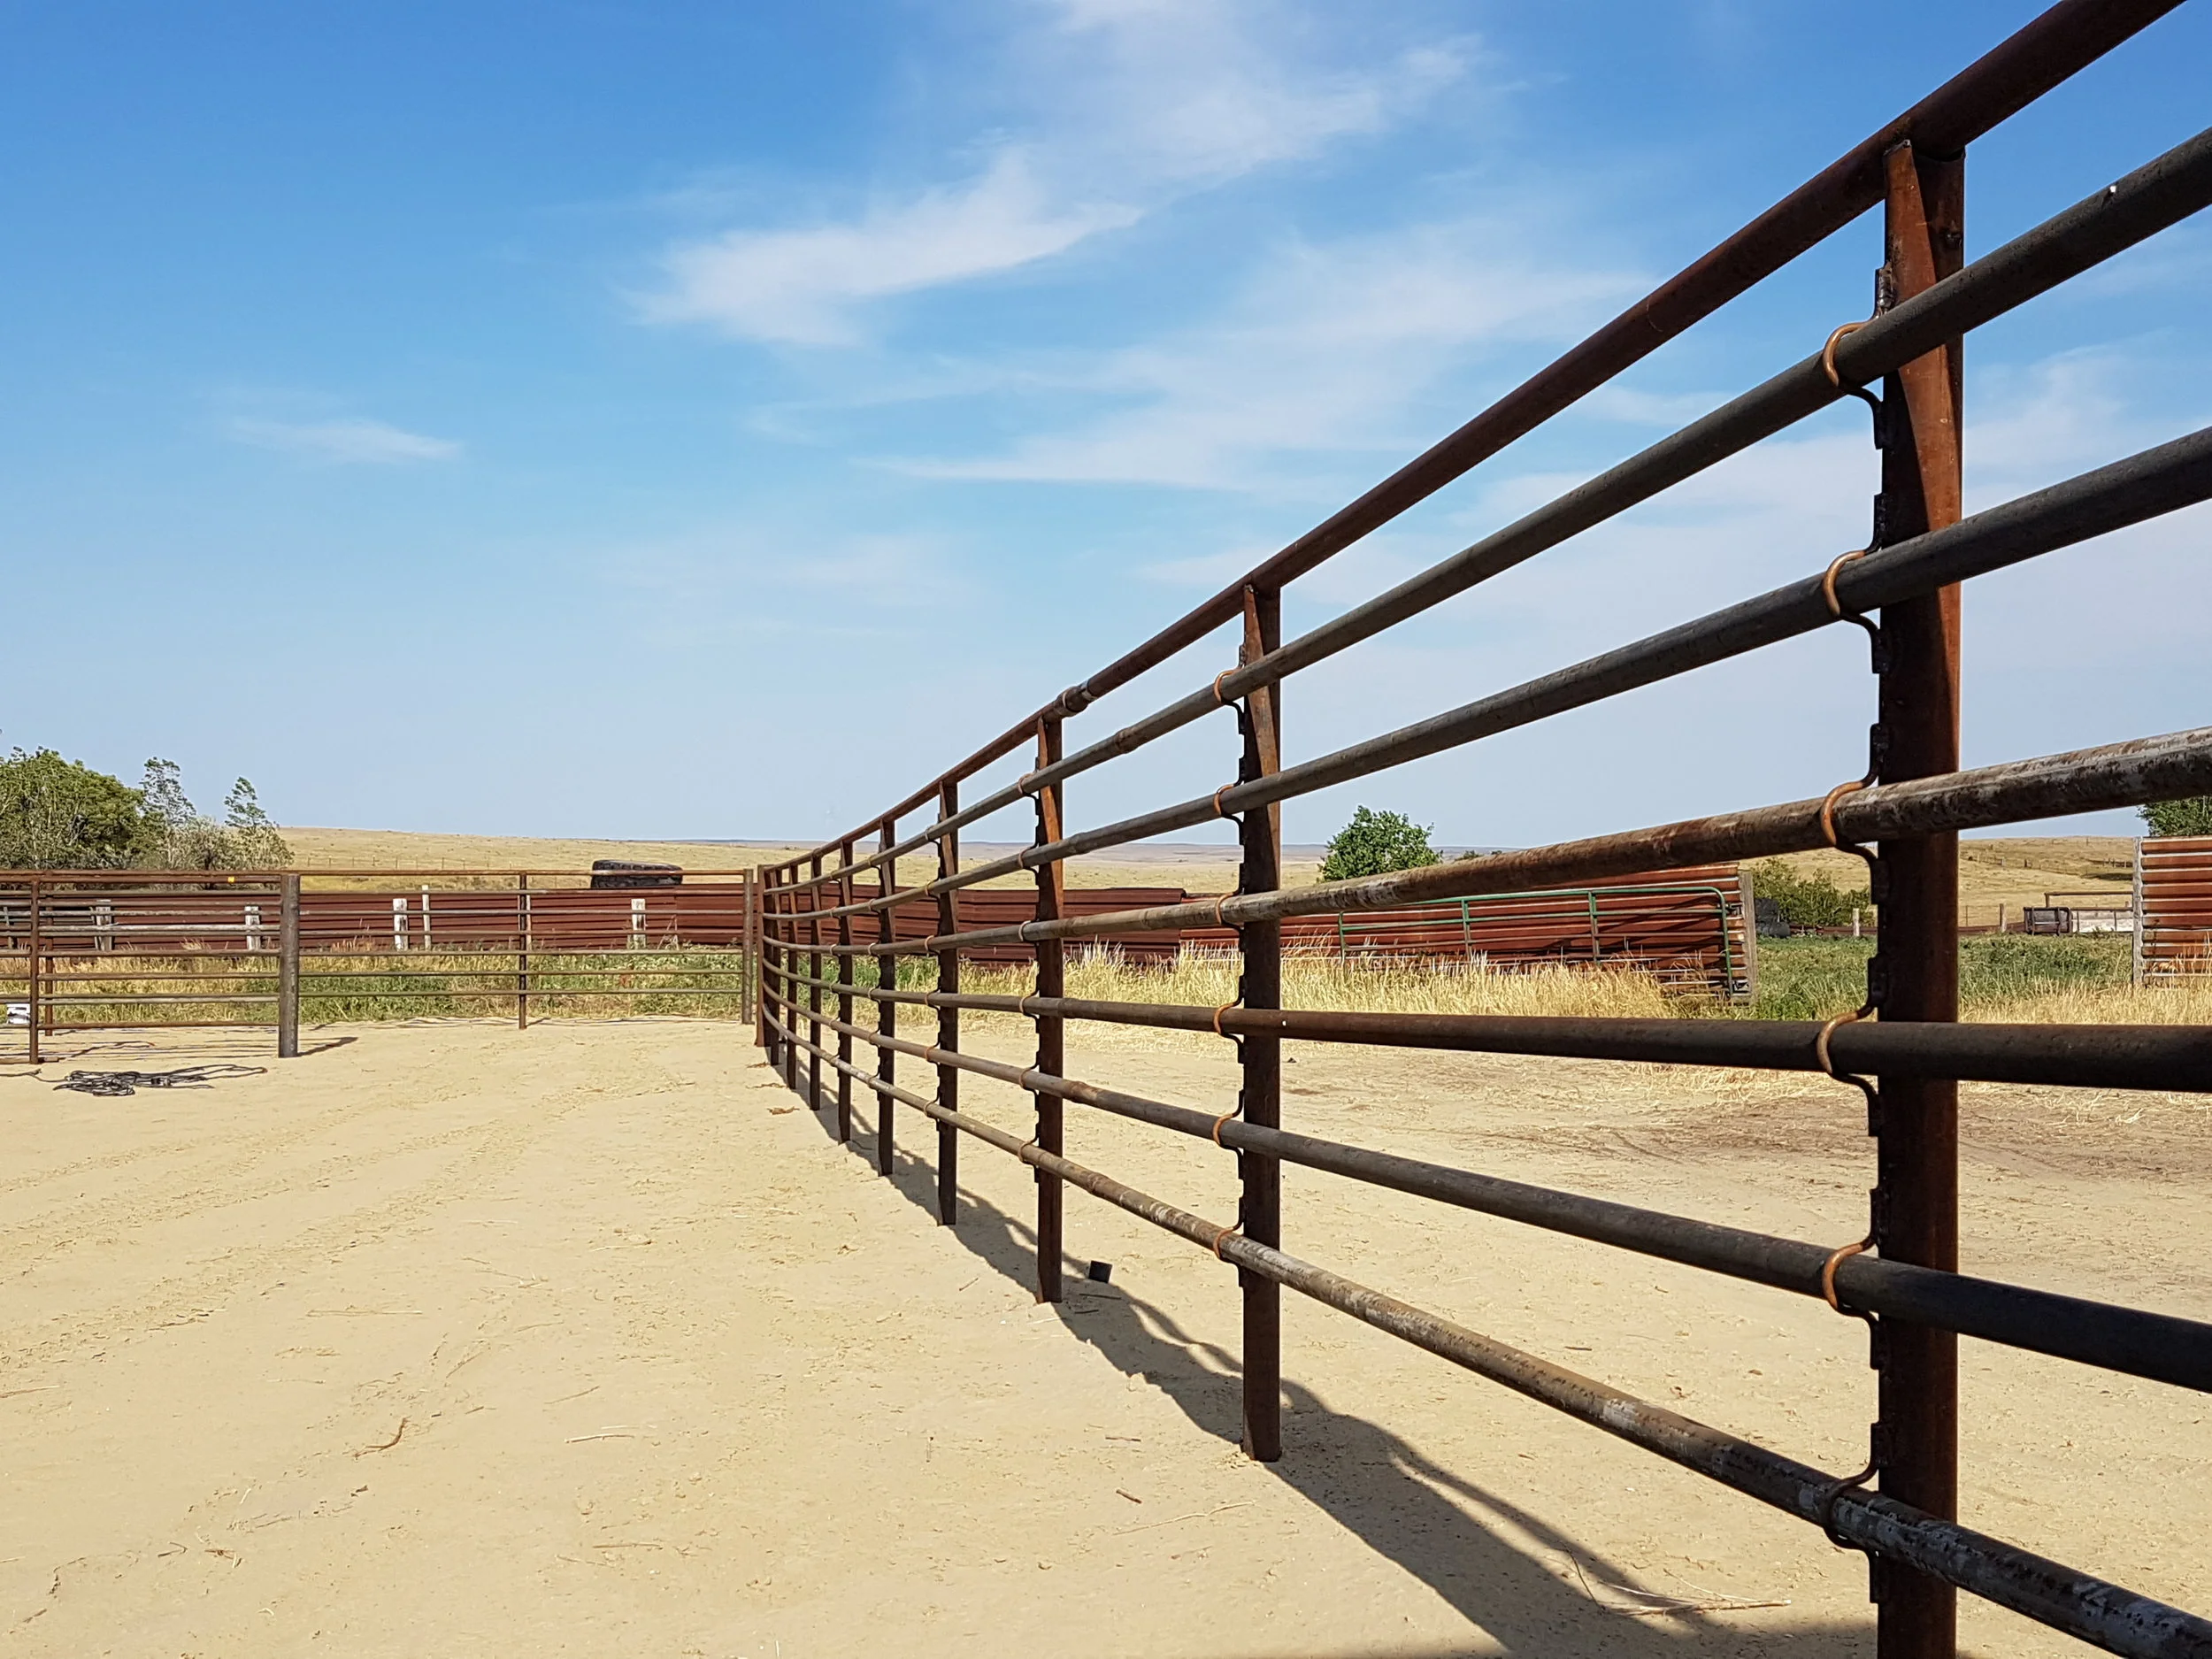
An example of a corral fence using 2 7/8” (76mm) posts, 2 3/8” (60mm) top rail, and 1.9” (50mm) main rails. The rails are attached with a clip.
Use strong posts:
Posts are the foundation of your fence, everything else is mounted to the post and it’s not possible to change them without completely rebuilding the whole fence.
For the body of a fence, 2 7/8” oilfield pipe is ideal and strong enough. Some people like to use 3 1/2”. I think that it’s a little overkill for most situations, but if the price is right, go for it. these posts should be at least 3’ (90cm) in the ground. If your ground is soft, go a little more. digging a deeper hole is cheap compared to having a fence lean over!
For gates: 4 1/2” is normal for a gate post. I would usually mount posts up to 12’ or 14’ without extra support. On longer, heavier gates, use 6 5/8, or even 8 1/2” pipe. Or use 4 1/2” with an overhead support.
It’s possible to use smaller posts for gates, but you should have them supported from 2 perpendicular directions to spread the load out. If you don’t, these posts will tend to flex a lot, and may even bend. Gates put a lot of pressure on a fence, especially if your hired men (or bulls) jump on the end of them!
2. Use a top rail:
I like using a top rail on fence for a couple reasons.
It helps you stay straight. Partly because it keeps you honest!
It is visible, it looks good from the road, I think it deters animals from jumping because it’s a big bold bar rather than a thin cable or 1” rod
It protects the fence. When a cow jumps on a continuous fence panel, the panel comes away quite a bit the worse for wear. When a cow jumps on a 2 3/8” top rail, she usually just gets down and they both walk away without a scratch.
It helps to support gates. When you have gates, especially at a corner, having a top rail tie all your fence together really supports that post and makes it much stronger than it otherwise would be.
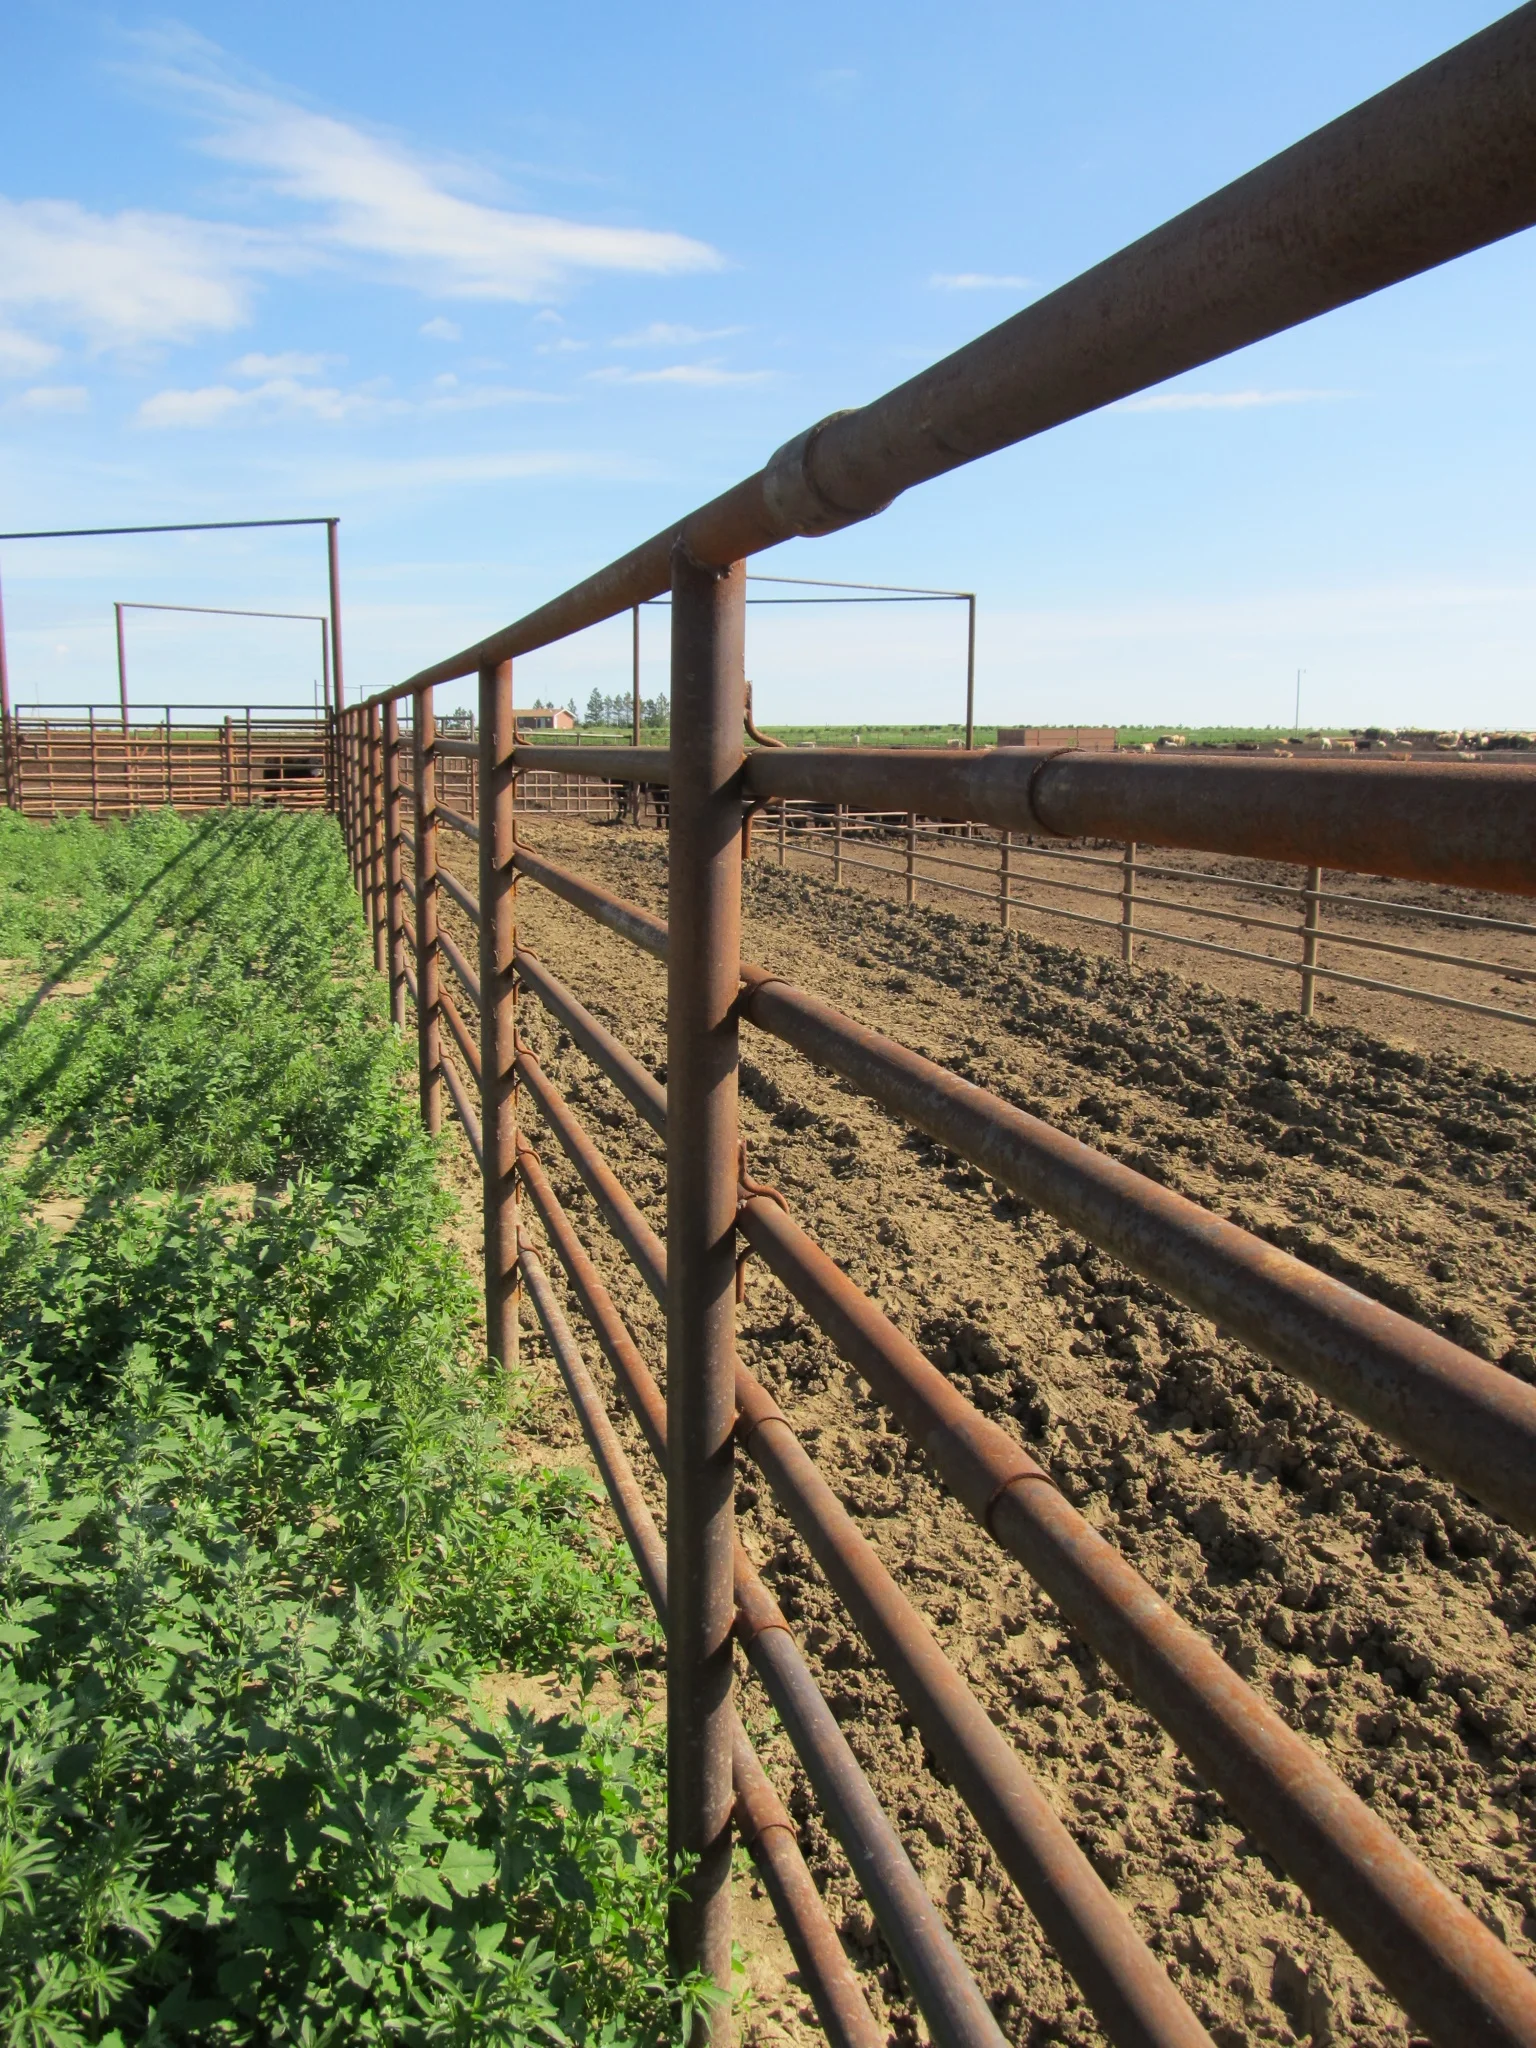
Pipe fence with rails on the inside of the alley
3. Put your rails on the side that will see the most pressure.
This isn’t an iron rule, but as a general rule, you should put your rails of a fence away from the chute because that’s the way you’re going to be forcing cows to move and that’s the way that will see more pressure.
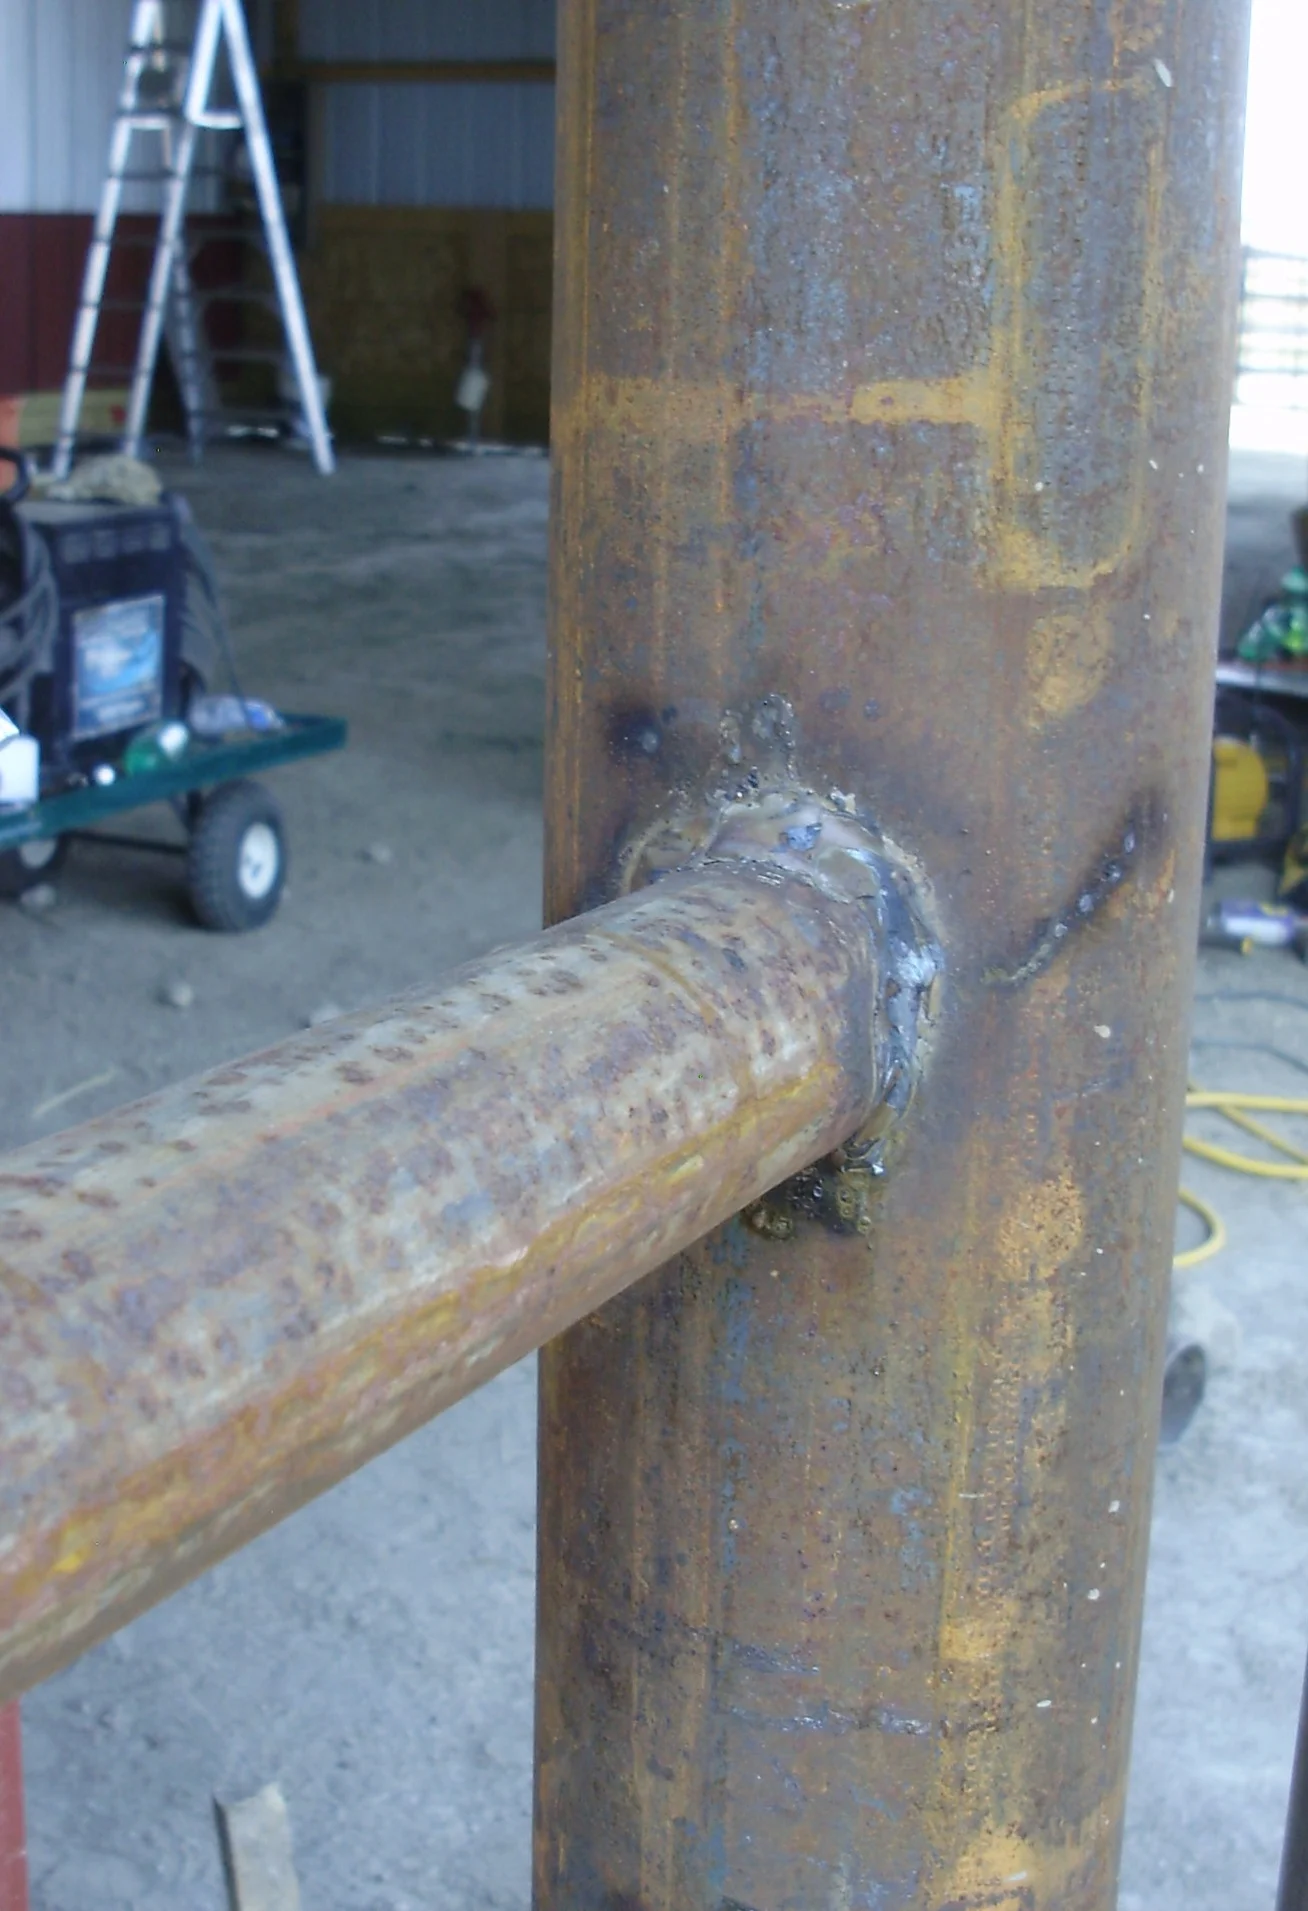
The reason is that the fence is stronger this way. The cows are pushing pipe against the post, not against a clip that is welded (often not that well) to a post.
4. Post spacing
Posts should be absolutely no more than 10’ (3m) apart. Just stick to this rule and don’t cheat. If you want to make a stronger fence, one of the cheapest ways to do it is to decrease the post spacing. This is especially true if you don’t have heavier material for the rails.
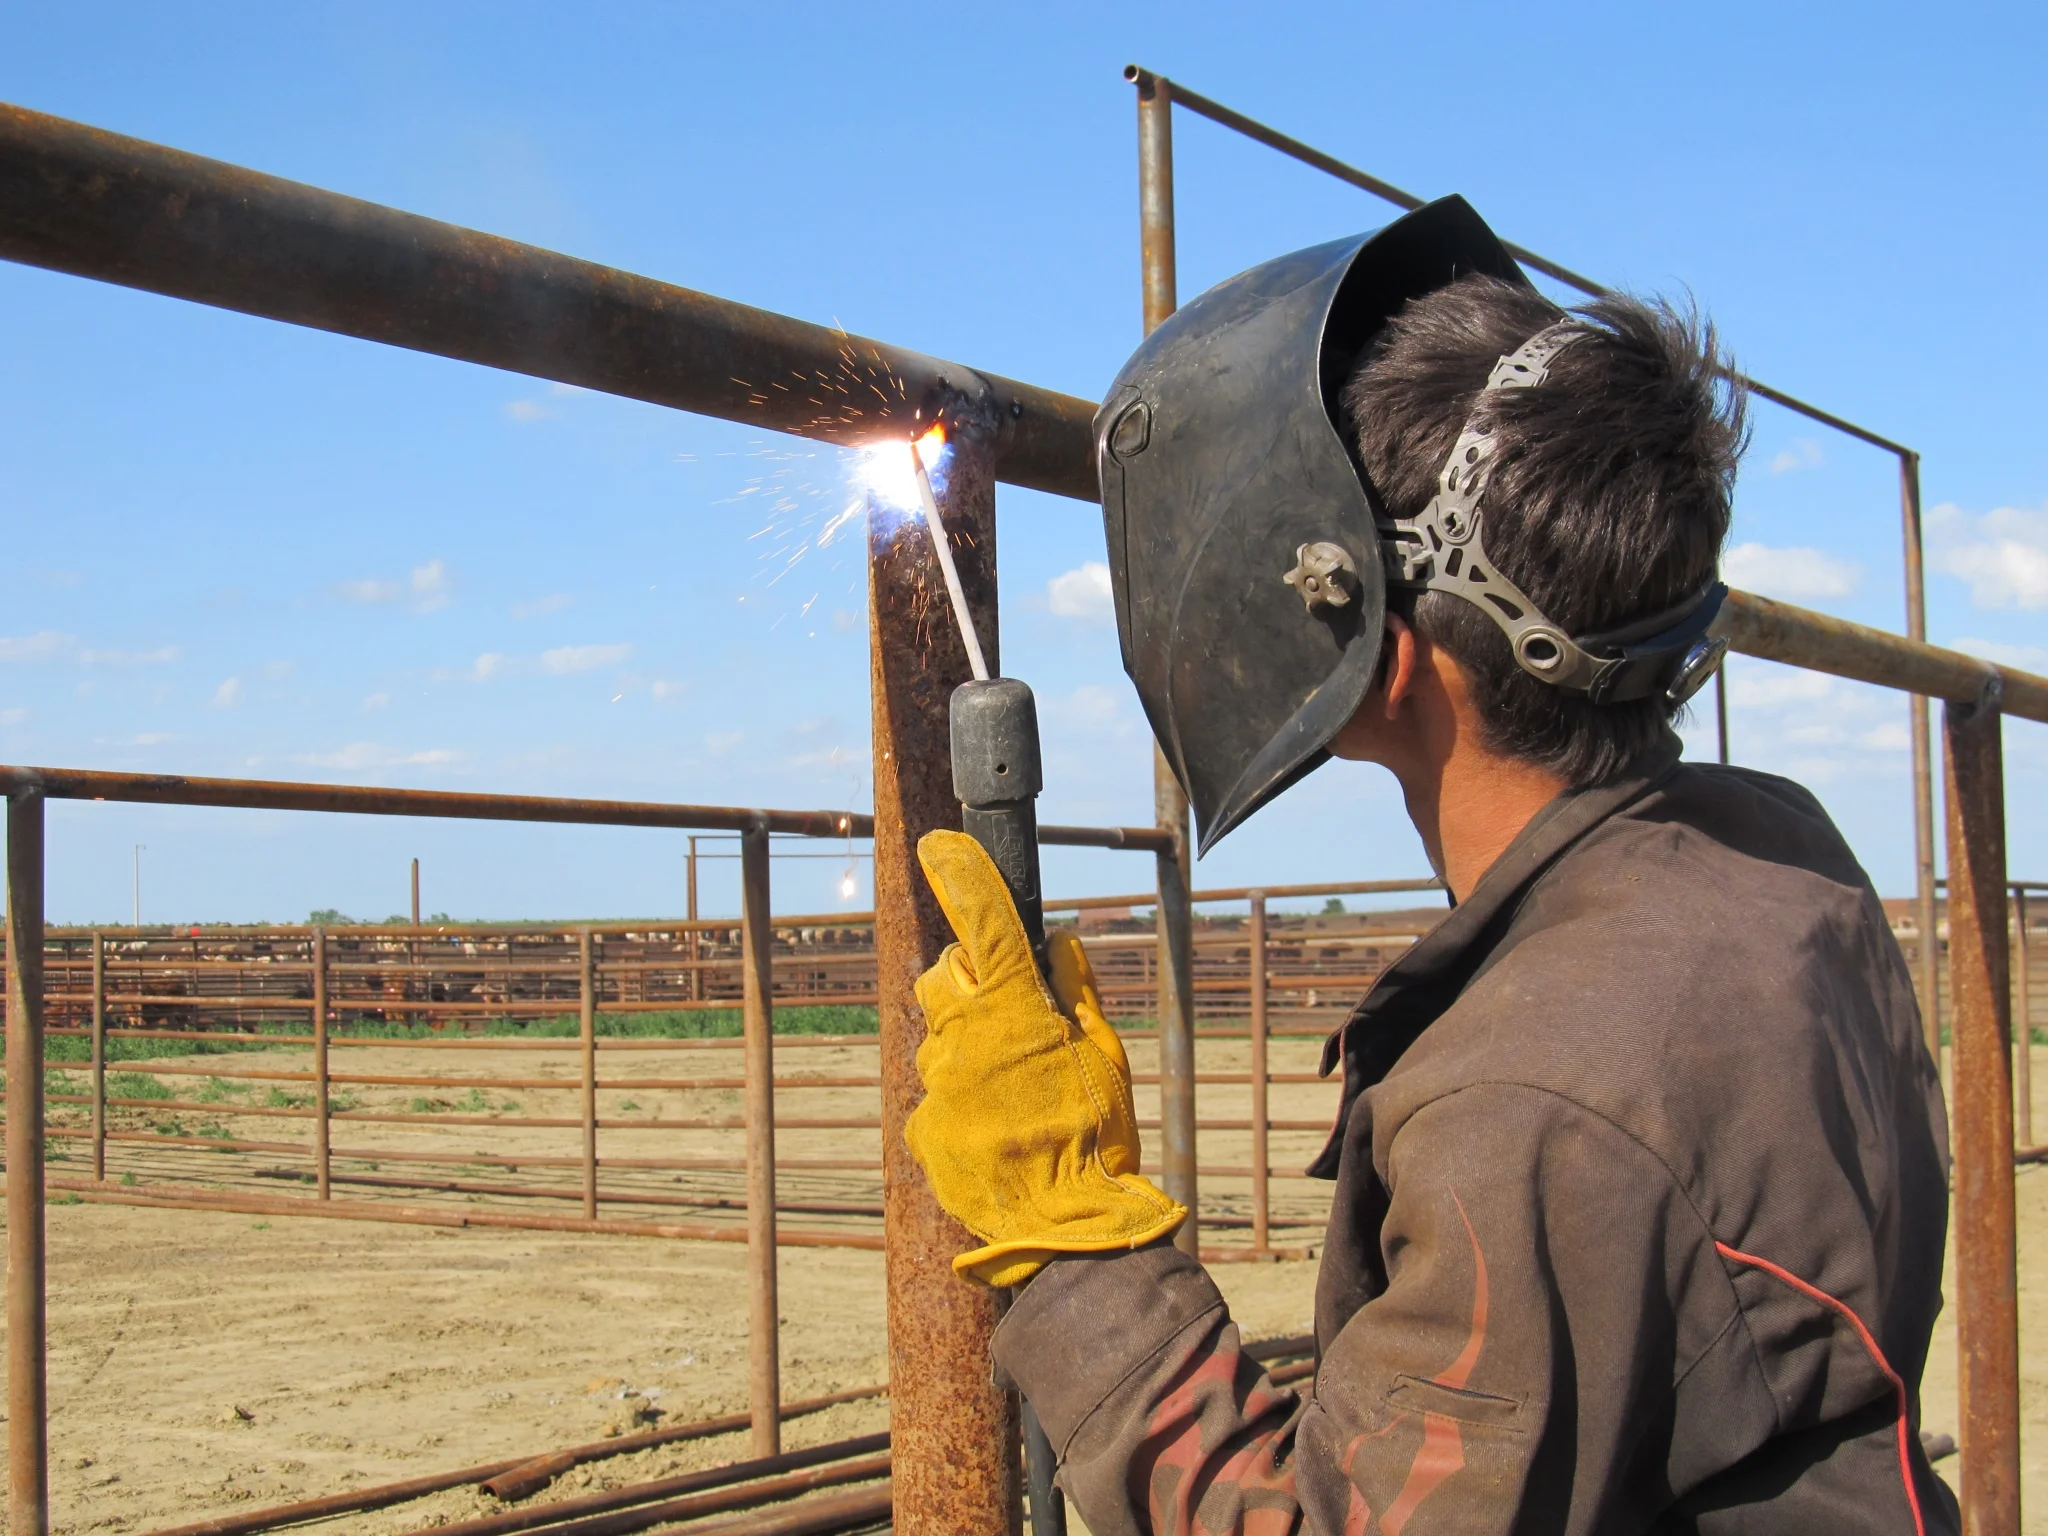
5. Finish your rails neatly
The rail on a fence should be smooth and strong.
The ends of rails can be a sharp point and a weak point. I like to get the rails pushed in and weld them flat. This takes some patience and good measuring, and if you can’t do it, smashing them down, or capping them is a good alternative. Just don’t leave a sharp edge sticking out, cows getting crowded by that kind of corner will get scraped up.
6. Cement where it’s needed.
In feedlot corrals, just cement everything. On ranch corrals, you can be a bit more selective. Cement your gate posts, and high pressure alleys, but you can usually leave holding pens and sorting pens. If cement is really hard to get, you can do almost as good of a job by driving the posts 4’ or 5’ deep.
Driven posts work really well and I highly recommend that you drive posts rather than dig and tamp them. In some ground, a driven post is just as strong as a cemented post.
A well built fence is an investment that will last for decades of use without significant maintenance. If your budget is tight and you need to reduce costs, the most efficient way to do it is to make your design as efficient as possible. This way you can spend money on the most important parts and save money where it won’t hurt the function. If you still need to reduce costs, save the money on the parts that can be replaced easily-gates and the body of the fence, but don’t be cheap on the posts.
As always, thanks for stopping by! Make sure to follow along on social media (links at bottom of the page) and don't be a stranger if you’re needing some help designing up a set of corrals! Click the contact button to send an email, or write me at jake@aurochsconsulting.net